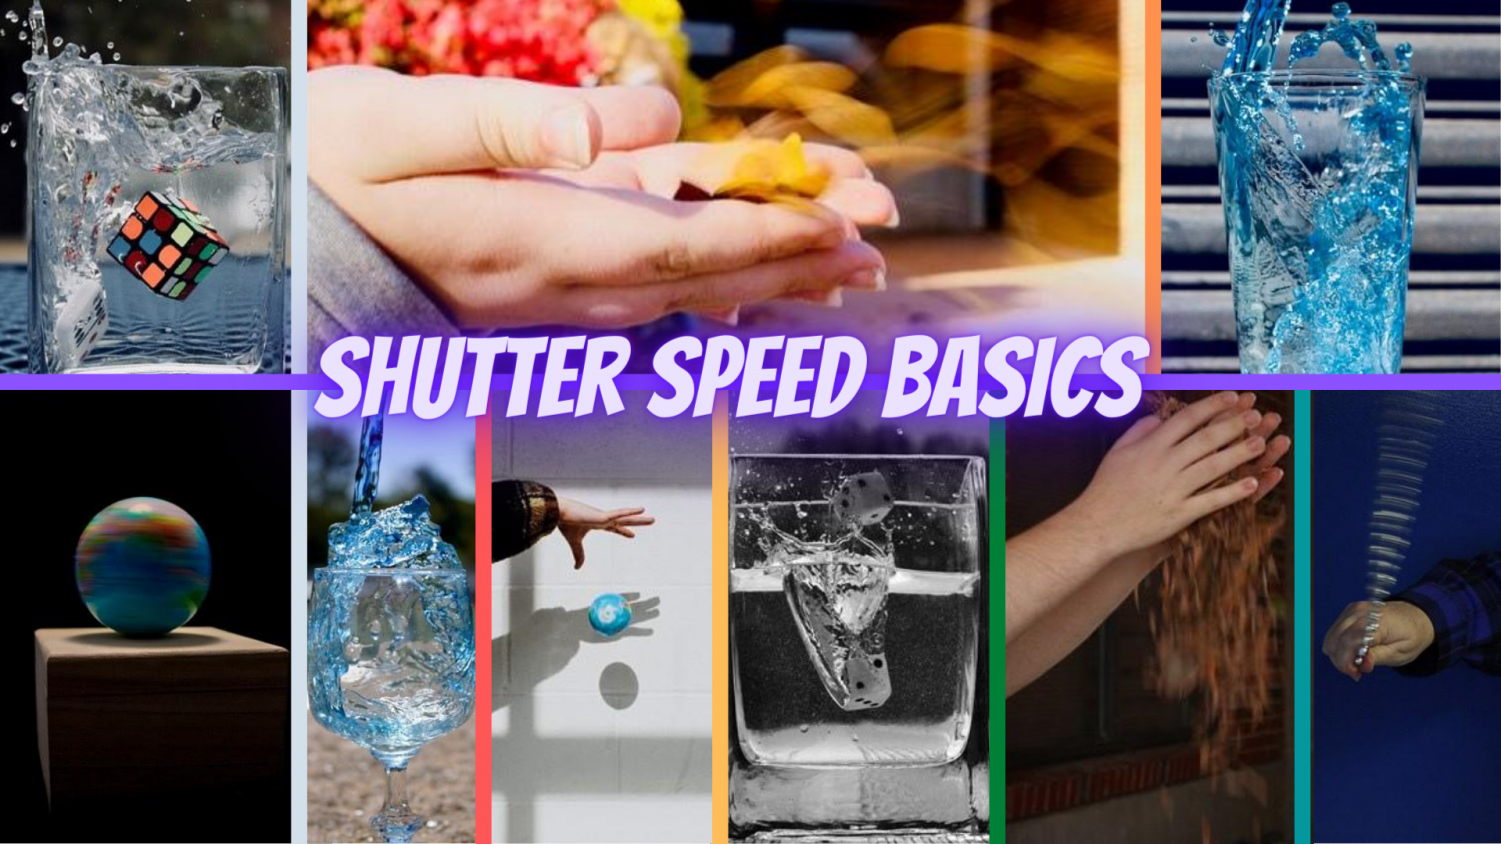
Shutter Speed Basics – DSLR Tutorial
When learning how to operate a DSLR, it is important to understand three critical components to how a camera works; Aperture, ISO, and Shutter Speed. In a previous mini-tutorial, we covered aperture. In this article, we will address Shutter Speed.

A camera records light. The length of time a camera’s shutter opens for light to hit the camera’s sensor is referred to as Shutter Speed. These units of time are typically measured in fractions of a second. However, in some cases, photographers will use longer shutter speeds that can be measured by minutes.
To understand this even better, view this video clip by our friend Vincent at Apalapse: https://youtu.be/7R9ZTxoTOSk
When selecting a shutter speed, it is important to ask yourself how you want to capture motion. When you see a basketball player going for the dunk, do you want to freeze frame that moment? Questions like that lead you to selecting the right shutter speed for the image you desire to capture.
This video tutorial by our friends at Canon Australia shows us how water in motion can be rendered as a freeze frame and/or a motion blur with the use of Shutter Speed. https://youtu.be/3NLfhejw83g
One way to experiment with Shutter Speed is by setting your camera on TV (Time Value) and adjusting the Shutter Speed to create a variety of images. Make sure you have something in motion to photograph when doing this. It’s also interesting to experiment with pre-set modes that control Shutter Speed such as Sports/Action mode.
This is a good site to visit if you do not have enough cameras for everyone to access one: http://www.canonoutsideofauto.ca/play/
Remember, Shutter Speed can be tricky. If you use a fast Shutter Speed and are lacking light, your images may come out too dark. A longer Shutter Speed in use where there is an abundance of light may result in images that are too light. This is where our next mini-tutorial over ISO will come in handy.
Remember, it’s important to think about Aperture, too. By making the size of the Aperture larger, you can let in more light. By making the size of the Aperture smaller, you let in less light.
It is always important to think of how Aperture, ISO, and Shutter Speed work together. Isolating one of the three components without thinking of the other two can create some frustration along the way.
Let’s end this Shutter Speed mini-tutorial with another clip from our friends with Canon Australia. They used longer shutter speed to get some amazing light trails! https://youtu.be/h7UvnLpc4fo


